Booking service
The booking service allows you to set your availability and let clients book their own sessions with you. You can also connect your Google calendar which will sync in the background updating bookings and avoiding any existing events in your calendar.
1. Configure Session Templates
The first step is to make sure that any session templates you wish to allow your clients to book are set to a program. This is done in the community management area. When you are working with associate coaches under your brand and within your community, this allows you to control the programs each coach (and client) has access to.
Note both the coach and client will need to be a member of the program to be able to book.
2. Setting your Availability
Each coach can then set their availability for each session within a program.
-
Navigate to account settings and select Booking Service
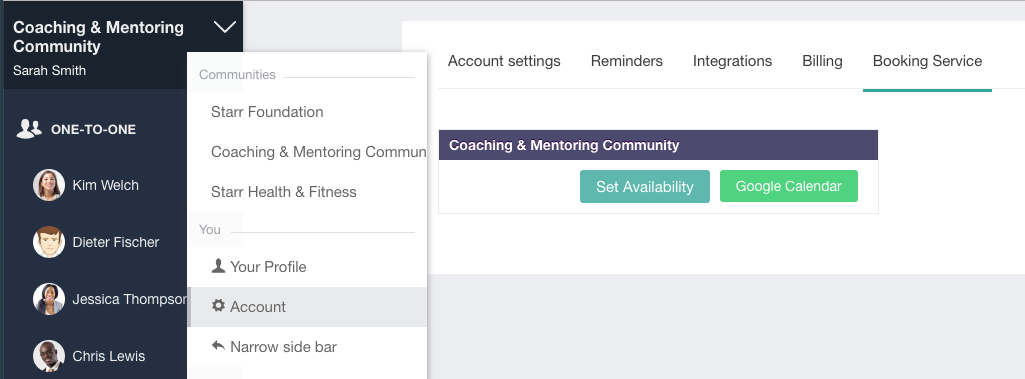
- Click [Set Availability]
-
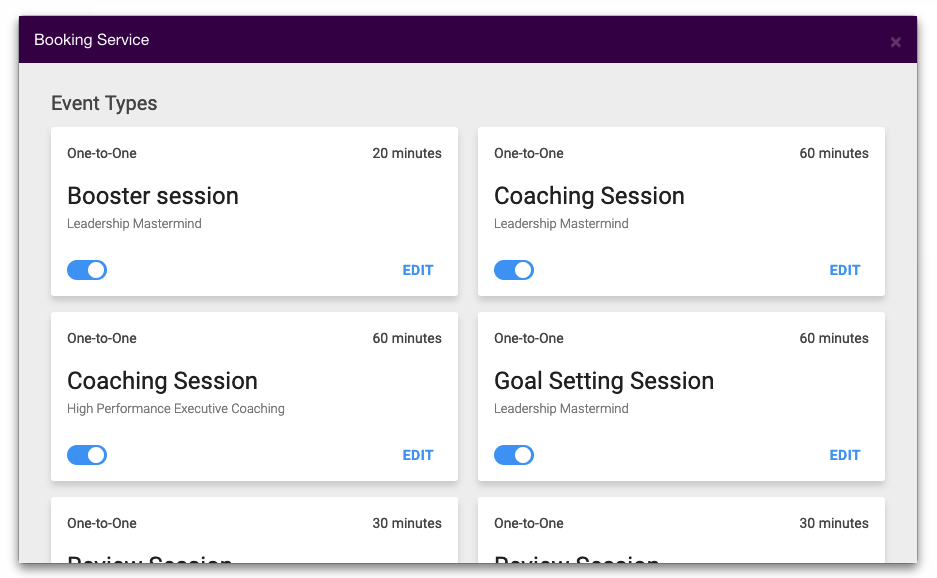
You should see a list of event types for each program (note if you have one session template associated with two or more programs you can set your availability for the event by program)
- Click on [EDIT] to set your availability for a specific event.
Session Name : this is taken from the session template and can't be changed by a coach. (if you wish to change the session name you can do this in the session template which you'll find under 'Settings' in the communtiy management area)
Location : you can set a default location if you wish such as "office" or a Zoom call ID
Maximum number of bookings per day : set this only if you want to limit how many bookings of this event type you do per day.
Minimum scheduling notice : set this if you wish to allow yourself some notice for new bookings, for example if you set this to 1 day, the earliest a client can book will be tomorrow.
Start time frequency : this field controls the frequency at which start times are shown in your schedule, for example if you have a 15 minute catch up call you may not want clients to see slots free every 15 minutes, you may wish to only show start times on the hour at 9am 10am etc.
Buffer before and after the event : this allows you to keep some time free before the event to prepare and/or after the event to write up your notes.
Event Timezone : we do all timezone calculations for you so we calculate and show your availability in the client's timezone. You can override your default timezone for this event by changing it here. You only need to do this if you are visiting another timezone and wish to set your availability based on that local time rather than your current timezone setting.
Date Range : this allows you to set how far in advance you wish clients to be able to book. For example if you sent it to 7 days, clients will be able to book up to a week in advance but no further.
Availability : now you have the basic rules set up it's time to set when you wish to allow your clients to be able to book sessions. For example you may wish to allow them to book on Mondays, Wednesdays and Fridays from 9 am to 1 pm and 3 pm to 6 pm.
3. Connecting Google (optional)
If you wish to connect your Google calendar follow the steps below:
- Go to https://www.coachingcloud.com/settings/booking-service
- Click on the green button [Google Calendar]
- Follow the steps on screen from Google to authorise CoachingCloud to access your calendar.
Client booking
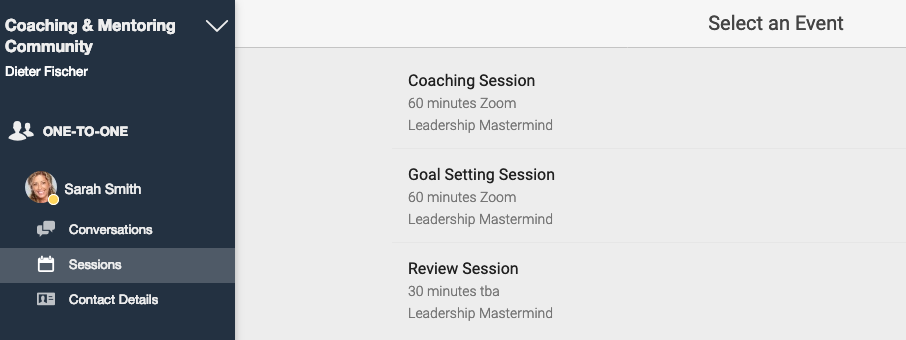
Clients can then book via your shared session space by clicking on the Plus icon:
They'll see a list of the session types available to them according to their program settings:
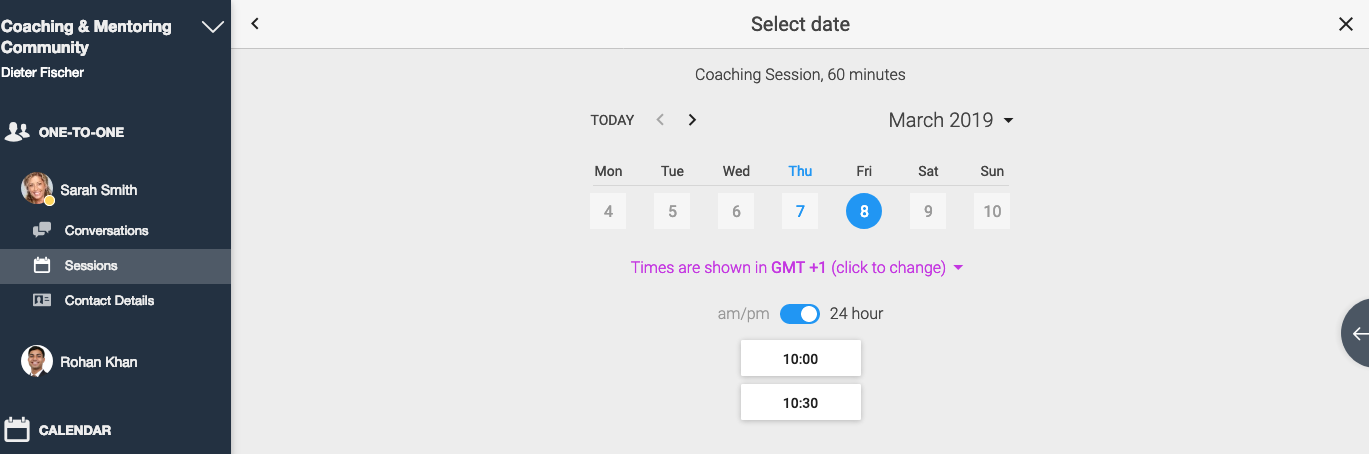
Selecting a session type will show the available dates and times:
Once they've selected the date and time they can book that in and you'll receive a notification to let you know that a new session has been booked!
Video coming soon.